すべての管理ルートとコントローラーを実際に構築せずに、管理領域を設定して5分でデータの操作を開始する方法があります。方法は次のとおりです...
必要なのはモデルだけです。その後、AdminBroパッケージを使用して、モデルのみに基づいて完全に機能するダッシュボードを実行できます。
まず、エクスプレスサーバーを設定する必要があります。
mkdir server
cd server
npm init
ExpressパッケージとAdminBroパッケージをインストールしましょう。
npm i @adminjs/express @adminjs/mongoose adminjs express mongoose
次に、モデル用のフォルダーを作成する必要があります
mkdir models
モデルのファイル、たとえば製品とカテゴリのモデルを作成するとします
touch models/products.js models/categories.js
models/products.jsで製品のスキーマを定義しましょう :
const mongoose = require('mongoose');
const Schema = mongoose.Schema;

const productsSchema = new Schema({
  product: {
    type: String,
    required: true,
    unique: true
  },
  price: {
    type: Number,
    required: true
  },
  categoryId: {
    type: Schema.Types.ObjectId, ref: 'categories',
    required: true
  },
});

module.exports = mongoose.model('products', productsSchema);
models/categories.js内のカテゴリの場合 :
const mongoose = require('mongoose');
const Schema = mongoose.Schema;

const categoriesSchema = new Schema({
    category: {
        type: String,
        required: true,
        unique: true
    }
},
{strictQuery: false}
)
module.exports =  mongoose.model('categories', categoriesSchema);
それでは、メインサーバーファイルをindex.jsにしてみましょう。 server内 フォルダ:
touch index.js
そして、この基本的なベアボーンコードをそれに追加します。
// GENERAL CONFIG
const app = require('express')();
const port = process.env.PORT || 5050;

// CONNECTING TO DB
const mongoose = require('mongoose');
(async function () {
  try {
    await mongoose.connect('mongodb://127.0.0.1/ourDatabase');
    console.log('Your DB is running');
  } catch (error) {
    console.log('your DB is not running. Start it up!');
  }
})();

app.listen(port, () => console.log(`🚀 Server running on port ${port} 🚀`));
これで、nodemonを使用してサーバーを実行できます。 ローカルのmongoデータベースに接続されて稼働していることを確認します。
最後のステップです。モデルをインポートする必要があり、残りはAdminBroが行います。
これをindex.jsに追加します データベースに接続した後のファイル:
// ADMIN BRO
const AdminJS = require('adminjs');
const AdminJSExpress = require('@adminjs/express')
// We have to tell AdminJS that we will manage mongoose resources with it
AdminJS.registerAdapter(require('@adminjs/mongoose'));
// Import all the project's models
const Categories = require('./models/categories'); // replace this for your model
const Products = require('./models/products'); // replace this for your model
// Pass configuration settings  and models to AdminJS
const adminJS = new AdminJS({
  resources: [Categories, Products],
  rootPath: '/admin'
});
// Build and use a router which will handle all AdminJS routes
const router = AdminJSExpress.buildRouter(adminJS);
app.use(adminJS.options.rootPath, router);
// END ADMIN BRO
Admin Broをインポートした後にわかるように、モデルが必要です。
const Categories = require('./models/categories'); // replace this for your model
const Products = require('./models/products'); // replace this for your model
次にそれらを渡します(Categories およびProducts )この例ではAdmin Broに):
const adminJS = new AdminJS({
  resources: [Categories, Products],
  rootPath: '/admin'
});
さらに、rootPath: '/admin'でダッシュボードのパスを設定します
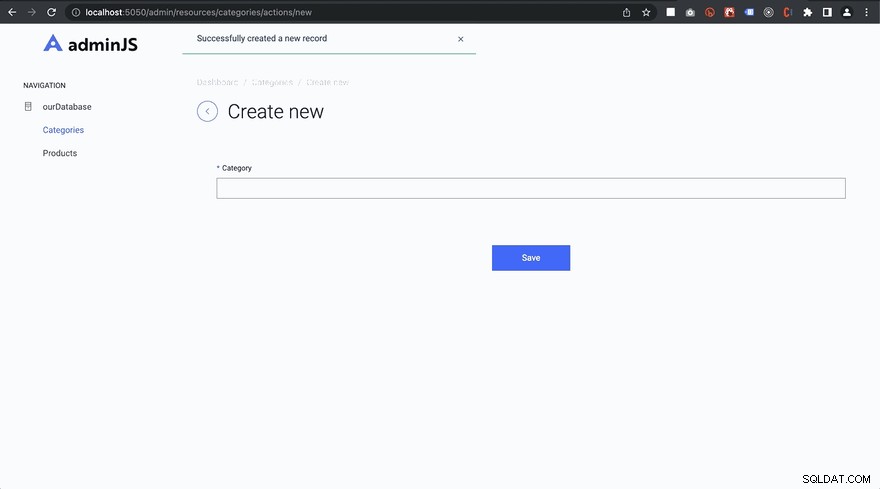
ここで、指定されたポート(この例では5050)でサーバーを開き、管理URL(/adminに移動します。 )この例では、データで使用する準備ができている素晴らしいダッシュボードが表示されます。
GitHubのデモリポジトリ

